Contents
Use adjustment layer presets
Some of the adjustment layers come with a pre-defined set of presets. They are the levels, curves, exposure, hue & saturation, black & white, channel mixer, and selective color adjustment layers. The presets are worth exploring because they can give you an idea of some of the adjustments you can make with a particular layer adjustment.
Use brightness/contrast, levels, curves, exposure, and vibrance adjustment layers
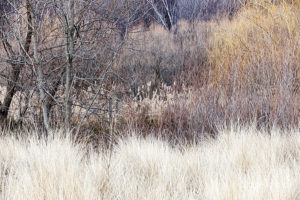
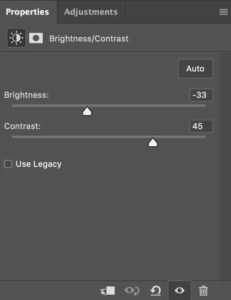
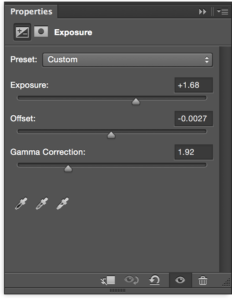
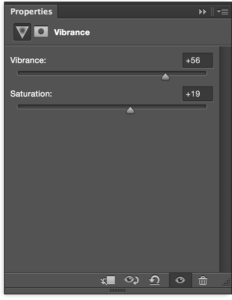
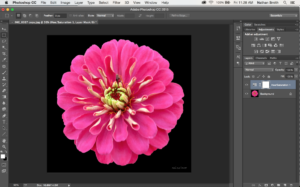
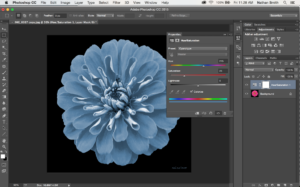
As we work through each of the adjustment layers, the image on the left is the original, which you can click on and download to try on your own. Please do that! The image of the adjustment layer is in the center, which you can click for a larger view. The image on the right is the adjusted image, which you can also click for a larger view.
Brightness/Contrast
This adjustment layer simply works with brightness and contrast sliders. You can click on the public domain image at left, download it, and try it for yourself. In this example, I’ve decreased the brightness and increased the contrast.

Before getting into the levels and curves adjustment layers, it’s important to understand histograms. Please watch the video, Photoshop: Introducing the Histogram Panel.
Histograms are bar charts of luminance values – values of light – from black to white. The chart helps you understand what is happening with light in an image or photo.
The levels and curves adjustment layers allow you to mess around and change those values. You could make black pixels become grey or even white. You could make white pixels become black. They provide a wonderful amount of “light control” over an image and are some of the most powerful tools in Photoshop.
Curves
This adjustment layer is even more powerful than levels. In the Curves adjustment, you adjust points throughout an image’s tonal range. Initially, the image’s tonality is represented as a straight diagonal line on a graph. When adjusting an RGB image, the upper-right area of the graph represents the highlights and the lower-left area represents the shadows. The horizontal axis of the graph represents the input levels (original image values) and the vertical axis represents the output levels (new adjusted values). As you add control points to the line and move them, the shape of the curve changes, reflecting your image adjustments. The steeper sections of the curve represent areas of higher contrast while flatter sections represent areas of lower contrast. (Source) Watch the video Power of Curves in Photoshop video. Then watch the demonstration video next.
Exposure
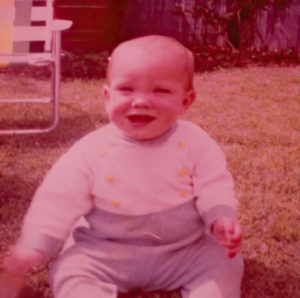
This adjustment layer lets you correct the exposure of an image. In this demonstration, I’ve used the mask to bring back some of the sky, first by selecting the sky with the quick select tool, then filling the selection with black on the mask. I then went to the mask properties and lowered the density until the sky looked right. Click on the original image at left, download it, and try it for yourself!

Vibrance
Vibrance is different than saturation. As you apply vibrance to an image, it begins by saturating the least saturated colors, and as you increase it further, it works up through the more saturated colors – saturating them even more. Saturation works equally on every pixel in the image. Click on the original image at left, download it, and try it for yourself!
