Contents
Intro to this Week
As we get back into instruction this week we’re covering the next step in the planning process, Wireframes, looking at how we can add video to our webpages using an HTML5 video tag, and rounding things out with a lesson on Semantic HTML tags.
This Week’s Work
1. Setup for Dreamweaver Work
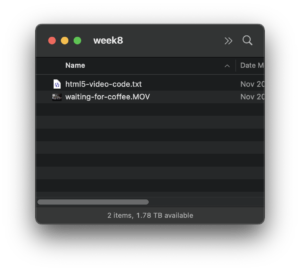
Download html5video-demo-files.zip, decompress and put the contents of the video-reference-material folder into your week8 folder.

2. Wireframes
Watch these videos about Wireframes, our next planning step.
3. HTML5 Video
There are a few ways we can add video to our webpages. The primary one uses the HTML5 <video> tag. Watch the video below and use the demo files from Step 1 to follow along in Dreamweaver. In the tutorial, I’ll be using the Miro Video Converter application (download it first). Another option would be to use a website, ConverterPoint.com* is a good one.
*If using ConverterPoint: After uploading your video, select the 3 formats to convert to and let the conversion run. Next click the Down arrow icon under the appropriate formats. Each will open in a new tab/window. Finally, right-click on the video to Save each to your local hard drive.
4. Abbreviated CSS Code
Watch this quick video to help you recognize some forms of abbreviated CSS code:
5. Semantic HTML Tags
We are now going to expand our understanding of HTML tags by looking at the use of semantic HTML tags.